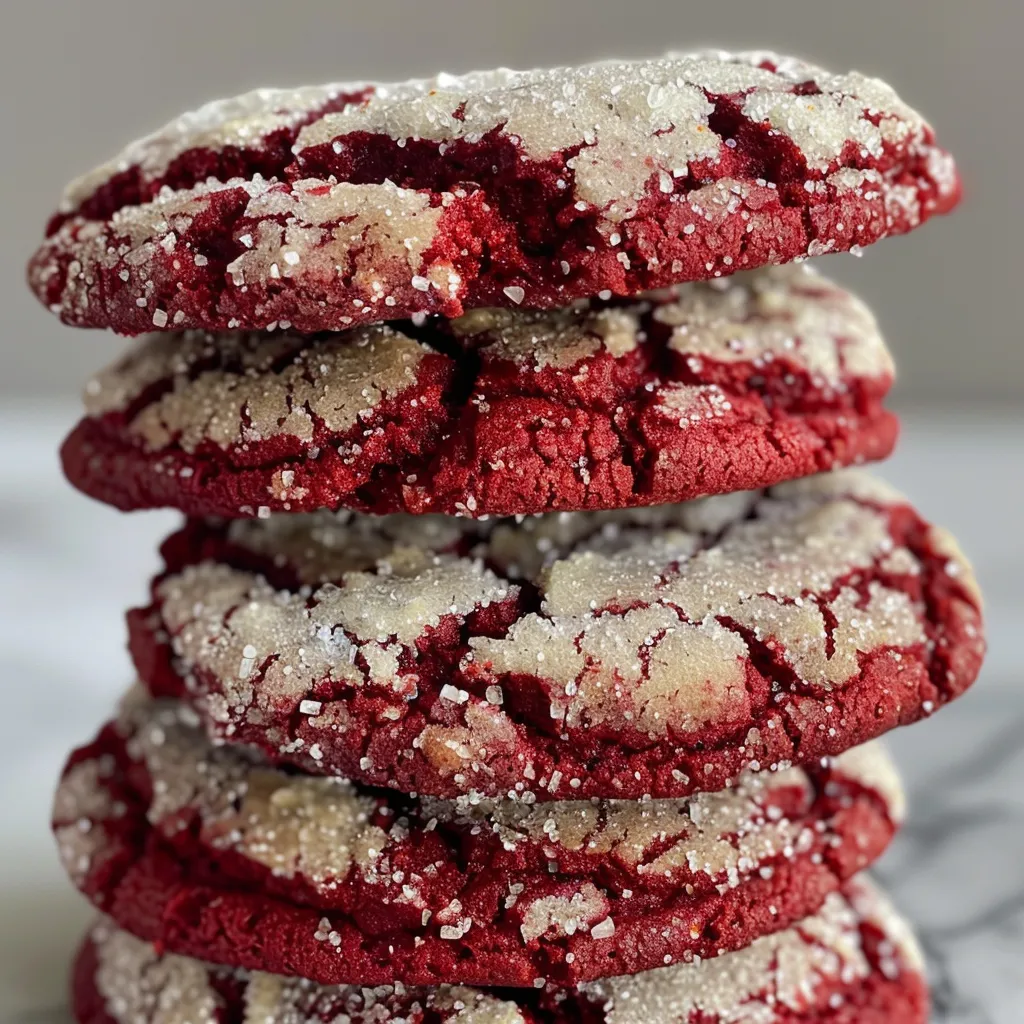
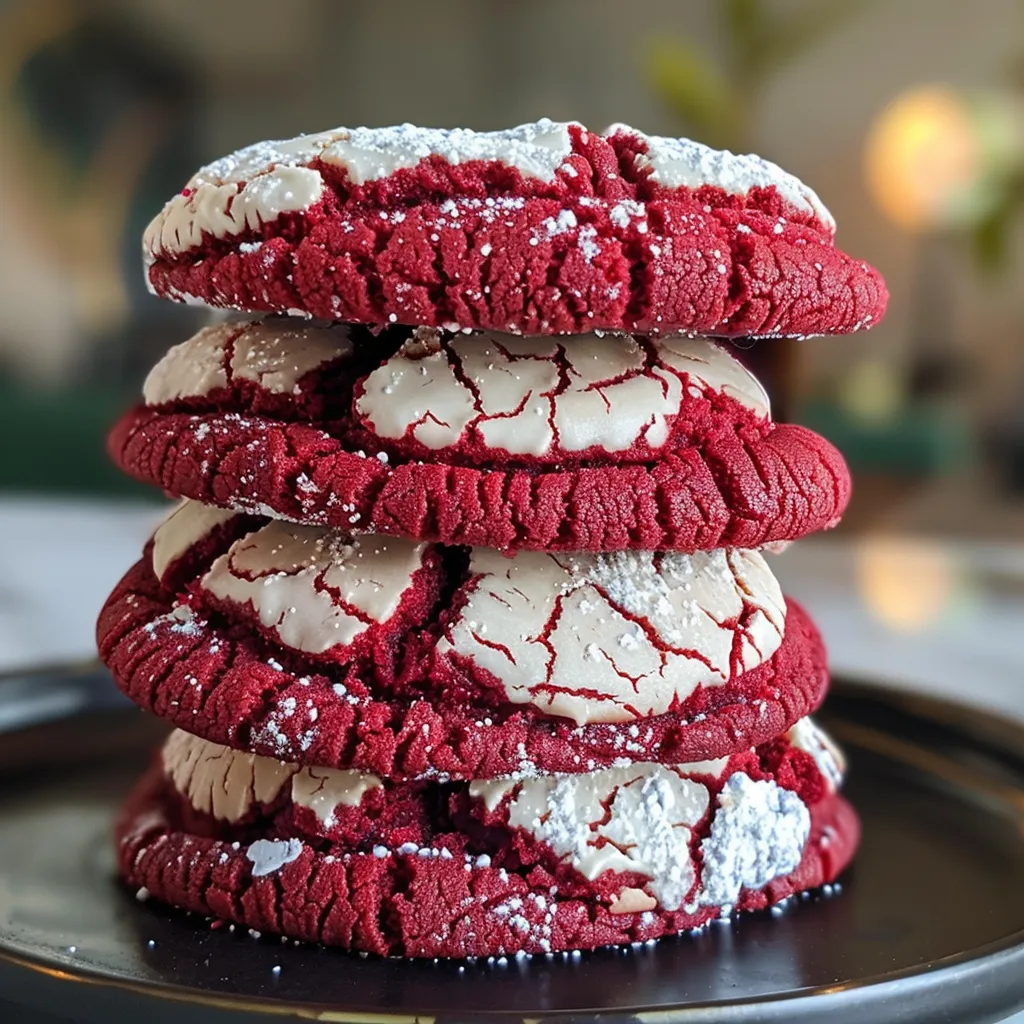
Hey food lovers! 🎉 It’s Laya here, and oh boy, do I have a treat for you today! Just in time for the festive season, I’m going to share my recipe for the most delightful Red Velvet Crinkle Cookies. These little beauties are not just a feast for the eyes with their vibrant red color and snowy powdered sugar coating, but they are also incredibly soft and fudgy. Trust me, one bite and you’ll be transported to cookie heaven! 🍪❤️
Now, let’s be real for a second. The holidays can be a whirlwind of parties, gatherings, and family get-togethers. And what better way to spread some joy than with cookies that scream “share me!”? These Red Velvet Crinkle Cookies are perfect for gifting, sharing on social media, or simply indulging in while binge-watching your favorite holiday movies. So grab your aprons, and let’s get baking!
Why You’ll Absolutely Love Red Velvet Crinkle Cookies – Festive and Fudgy
These cookies are not just delicious; they are a celebration of everything festive and fun! Here’s why you’ll absolutely adore them:
- ✨ Visual Delight: Their stunning red color and lovely crinkle tops make them perfect for Instagram, ensuring your feed stays vibrant and festive!
- 🎉 Soft & Fudgy: Each bite melts in your mouth, delivering a rich chocolatey flavor that keeps you coming back for more.
- 💖 Easy to Share: These cookies are great for potlucks, parties, or just sharing with family and friends. Spread the love!
- 🌟 Perfect for Any Occasion: Whether it’s Christmas, Valentine’s Day, or just a cozy night in, these cookies fit right in!
Ingredients You’ll Need
Let’s talk about the magic ingredients that make these cookies so special! We’re keeping it simple and using some pantry staples that you probably already have at home. Here’s what you’ll need:
- 2 cups all-purpose flour
- 1 tablespoon cocoa powder
- 1 teaspoon baking powder
- 1/2 teaspoon salt
- 1/2 cup unsalted butter, softened
- 1 cup granulated sugar
- 1 large egg
- 1 tablespoon red food coloring
- 1 teaspoon vanilla extract
- 1/2 cup powdered sugar for dusting
You’ll find the full ingredient list with measurements in the recipe card below!
How to Make Red Velvet Crinkle Cookies – Festive and Fudgy, Step-by-Step
Alright, friends! Let’s get down to the fun part—making these gorgeous cookies! Follow me step-by-step, and I promise you’ll have a blast. Here’s how to do it:
1. Preheat your oven to 350°F (175°C) and line a baking sheet with parchment paper. This is the perfect time to dance around your kitchen and get those good vibes going! 🎶
2. In a bowl, whisk together the flour, cocoa powder, baking powder, and salt. This step is crucial for getting that perfect texture, so don’t skip it!
3. In another bowl, cream the softened butter and granulated sugar until light and fluffy. You want it to be airy and delicious, so take your time. It’s worth it!
4. Add the egg, red food coloring, and vanilla extract to the butter mixture and mix until combined. The color will start to pop, and you’ll feel like a baking wizard! 🧙♀️
5. Gradually add the dry ingredients to the wet ingredients, mixing until just combined. Don’t overmix; we want those cookies to be tender and chewy!
6. Chill the cookie dough in the refrigerator for about 30 minutes. This helps the cookies hold their beautiful shape while baking. Plus, a little break for you to sip on some hot cocoa! ☕️
7. Scoop tablespoon-sized balls of dough and roll them in powdered sugar until fully coated. This is where the magic happens! Each cookie will have that gorgeous snowy exterior.
8. Place the dough balls on the prepared baking sheet, spacing them about 2 inches apart. They’ll spread a bit, so give them room to breathe!
9. Bake for 10-12 minutes, until the edges are set and the tops are crinkled. Your kitchen will smell like a dream!
10. Allow the cookies to cool on the baking sheet for a few minutes before transferring them to a wire rack to cool completely. Try not to eat them all while they’re warm—though no judgment here if you do! 😄
Pro Tips for the Best Results
Here are a few tips to ensure your Red Velvet Crinkle Cookies turn out perfect every time:
- ✨ Chill the Dough: Don’t skip the chilling step! It’s essential for achieving that crinkle effect and keeping the cookies from spreading too much.
- 💡 Use Gel Food Coloring: For a more vibrant red, opt for gel food coloring instead of liquid. It gives deeper color without affecting the dough consistency!
- 🍪 Don’t Overbake: Keep an eye on them in the oven. They should be soft in the center when you take them out to ensure that fudgy texture!
Serving Suggestions
These cookies are a showstopper on their own, but why not elevate the experience? Here are some fun serving suggestions:
- 🎁 Gift Boxes: Present them in cute boxes with a sprinkle of festive decorations for the perfect holiday gift!
- 🍦 Cookie Sandwiches: Sandwich a scoop of vanilla ice cream between two cookies for a decadent treat!
- ☕️ Pair with Drinks: Serve them alongside a hot cup of cocoa or coffee for the ultimate cozy experience!
Storage and Make-Ahead Tips
Want to make these in advance? No problem! Here’s how to store them:
- 🧊 Room Temperature: Store your cookies in an airtight container at room temperature for up to a week. They’ll stay soft and delicious!
- ❄️ Freezing: You can freeze the cookie dough before baking! Just scoop and roll the dough balls, then freeze them on a baking sheet. Once solid, transfer to a zip-top bag. When you’re ready to bake, just pull them out and bake from frozen, adding a couple of extra minutes to the baking time!
And there you have it, my delightful friends! Whimsical Red Velvet Crinkle Cookies that are sure to bring a smile to your face and joy to your holiday celebrations. Don’t forget to snap a pic and share your baking moments online! Happy baking! ❤️🍪

Red Velvet Crinkle Cookies – Festive and Fudgy
Ingredients
Method
- Preheat oven to 350°F (175°C).
- Mix dry ingredients; cream butter and sugar, then add egg, food coloring, and vanilla.
- Combine wet and dry; chill dough 30 minutes.
- Form dough into balls, coat in powdered sugar, place on baking sheet.
- Bake 10-12 minutes; cool before serving.
Notes
Loved this recipe? Save it to your favorite Pinterest board so you can easily find it later! It’s the perfect way to keep all your sweet ideas in one place. ✨