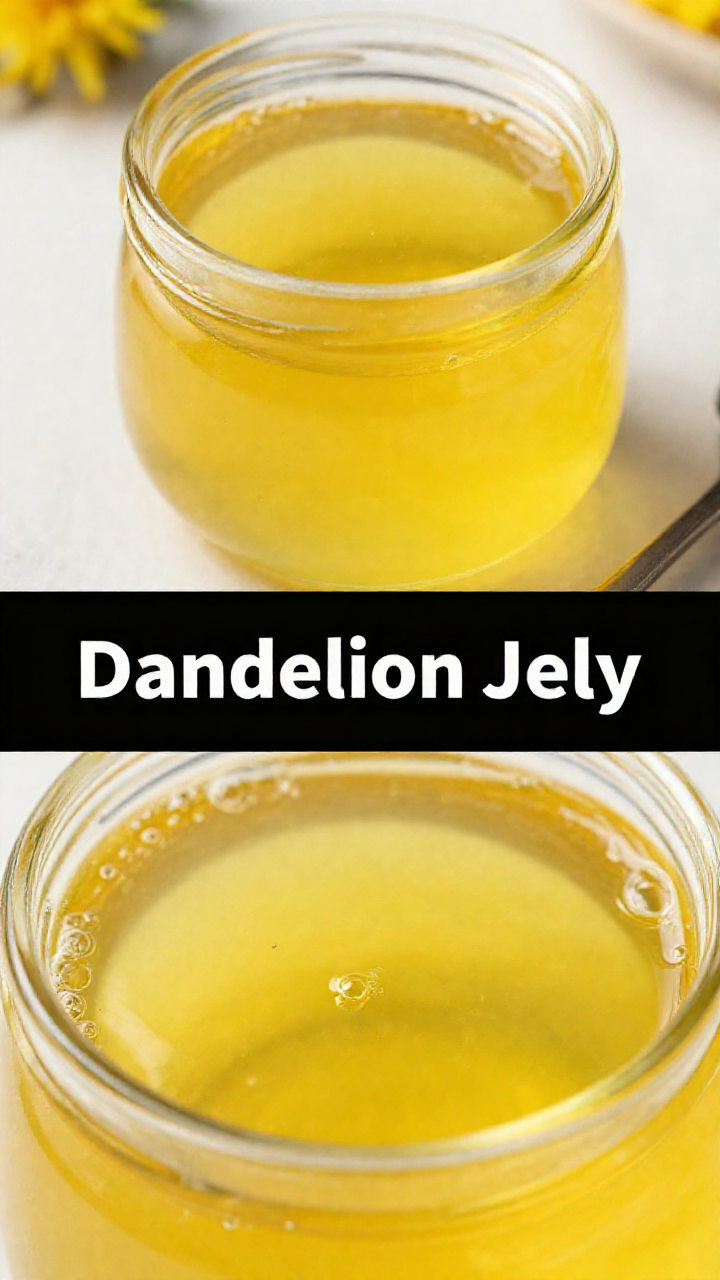
Dandelion Jelly: A Taste of Spring Sunshine!
Hey there, sunshine seekers! Laya here, and I’m absolutely buzzing to share one of my most whimsical, utterly delicious recipes: Dandelion Jelly! Yes, you read that right. We’re turning those cheerful yellow flowers popping up in your yard into a jar of golden, springtime goodness. This isn’t just jelly; it’s bottled sunshine, ready to brighten up your breakfast, elevate your desserts, and impress everyone who tries it. Dandelion jelly is a unique treat that you won’t want to miss out on!
If you’ve ever looked at a field of dandelions and thought, “I wonder what I can do with all of these?” then this recipe is for you! They’re usually seen as weeds, but they re actually edible and full of nutrients. It s time to change your perspective and see them as a delightful ingredient waiting to be discovered. So grab your basket, put on your foraging hat, and let’s get ready to make some magic! The jelly is surprisingly easy to make, and the result is totally worth the effort.
Why You’ll Absolutely LOVE This Dandelion Jelly Recipe
Okay, picture this: a sunny morning, a slice of warm toast, and a generous spread of glistening, golden Dandelion Jelly. Sounds dreamy, right? But the taste…oh, the taste! It’s subtly sweet, with a hint of honey and a delicate floral aroma that will transport you straight to a blooming meadow. But that’s not all! Here’s why you’ll be obsessed:
- Unique Flavor: Forget your ordinary grape or strawberry jelly. Dandelion jelly has a flavor all its own – a delicate blend of floral sweetness that’s surprisingly addictive.
- Easy to Make: Don’t be intimidated! This recipe is simpler than you think. With just a few ingredients and easy-to-follow steps, you’ll be a dandelion jelly pro in no time.
- Impress Your Friends: Want to wow your guests at your next brunch? Serve up some homemade dandelion jelly and watch their faces light up with delight. It’s a conversation starter and a guaranteed crowd-pleaser.
- Foraging Fun: Turn a simple walk in the park into a culinary adventure! Foraging for dandelions is a fun and rewarding experience, connecting you with nature and providing you with fresh, local ingredients.
- Beautiful Gift: A jar of homemade dandelion jelly makes a thoughtful and unique gift for friends and family. It’s a taste of sunshine that they’ll truly appreciate.
Ingredients You’ll Need
Alright, let’s gather our ingredients! This dandelion jelly recipe is fairly simple, but using quality ingredients will really make a difference. Here’s what you’ll need to create this golden delight:
- 3 ¼ cups water, or more as needed
- 4 cups lightly packed dandelion petals, divided
- 2 tablespoons lemon juice
- 1 (1.75 ounce) package powdered fruit pectin
- 1 drop yellow food coloring (optional, but it enhances the color!)
- 4 ½ cups white sugar
How to Make Dandelion Jelly: Step-by-Step
Ready to transform those dandelions into liquid gold? Here’s how to make this amazing jelly:
- Infuse the Water: Heat water in a large pot until simmering. Add 2 cups dandelion petals; simmer for 10 minutes. Remove petals with a slotted spoon and strain over a bowl; squeeze out as much liquid from them as possible. Discard petals. Repeat with remaining 2 cups petals. This process extracts all the lovely dandelion flavor.
- Combine and Boil: Measure out 3 cups of dandelion-infused water, adding tap water to make up the difference if needed, and pour into a large pot. Add lemon juice, pectin, and yellow food coloring; bring to a rolling boil. Add sugar; return to a boil.
- Cook the Jelly: Cook, stirring constantly, about 1 minute. Remove from heat and skim foam off the surface if needed. The jelly will thicken as it cools, so don’t overcook it.
- Jar It Up: Pour mixture into hot, sterilized jars, filling to within 1/4 inch of the top. Run a clean knife or thin spatula around the insides of the jars to remove any air bubbles. Wipe the rims of the jars with a moist paper towel to remove any residue. Top with lids and screw on rings.
- Process for Safety: Place a rack in the bottom of a large pot and fill halfway with water. Bring to a boil and lower jars, 2 inches apart, into the boiling water using a holder. Pour in more boiling water if necessary to bring the water level to at least 1 inch above the tops of the jars. Bring the water to a rolling boil, cover the pot, and process for 7 minutes. This ensures the jelly is shelf-stable.
- Cool and Seal: Remove the jars from the pot and place on a cloth-covered or wood surface, several inches apart. Press the top of each lid with a finger, ensuring that the seal is tight. Let cool, about 24 hours. You should hear a “pop” sound as the jars seal.
Pro Tips for Perfect Dandelion Jelly
Want to make sure your dandelion jelly turns out perfectly every time? Here are a few of my favorite pro tips:
- Harvesting: Gather your dandelions on a sunny day, away from roads or areas that may have been sprayed with pesticides. Only use the petals, as the green parts can be bitter.
- Cleaning: Give your dandelion petals a good rinse to remove any dirt or insects. You can gently pat them dry with a paper towel.
- Sterilizing Jars: Sterilize your jars and lids properly to prevent spoilage. You can do this by boiling them in water for 10 minutes.
- Pectin Power: Use a good quality powdered fruit pectin to ensure your jelly sets properly. Follow the package instructions carefully.
- Foam Control: Skim off any foam that forms on the surface of the jelly while cooking. This will help to create a clear, beautiful final product.
- Setting Point: To test if your jelly is ready, place a small spoonful on a chilled plate and let it sit for a minute. If it wrinkles when you push it with your finger, it’s ready!
Common Mistakes to Avoid
Even with the best intentions, things can sometimes go awry in the kitchen. Here are a few common mistakes to watch out for when making dandelion jelly:
- Using Bitter Greens: Make sure you only use the petals of the dandelions, as the green parts can make the jelly taste bitter.
- Not Enough Pectin: If you don’t use enough pectin, your jelly may not set properly. Measure carefully and follow the package instructions.
- Overcooking: Overcooking the jelly can make it too thick and syrupy. Cook it just until it reaches the setting point.
- Under-processing: Under-processing the jars can lead to spoilage. Make sure to process them for the recommended time to ensure they are properly sealed.
Delicious Variations to Try
Want to get creative with your dandelion jelly? Here are a few fun variations to try:
- Lemon-Infused: Add extra lemon zest to the jelly for a brighter, more citrusy flavor.
- Ginger Zing: A touch of grated fresh ginger adds a warm, spicy kick.
- Floral Fusion: Combine dandelion petals with other edible flowers, like violets or pansies, for a unique floral blend.
- Spiced Delight: A pinch of cinnamon or nutmeg adds a cozy, comforting flavor.
How to Store Your Homemade Dandelion Jelly
Once your dandelion jelly is made, proper storage is key to keeping it fresh and delicious. Here’s what you need to know:
- Unopened Jars: Properly processed and sealed jars of dandelion jelly can be stored in a cool, dark place (like a pantry) for up to 1 year.
- Opened Jars: Once opened, store your dandelion jelly in the refrigerator. It should stay fresh for several weeks.
Frequently Asked Questions (FAQ)
Got questions about making dandelion jelly? I’ve got answers! Here are some of the most common questions I get asked:
- Is dandelion jelly safe to eat? Yes, as long as you harvest your dandelions from a safe location and follow proper food safety procedures.
- What does dandelion jelly taste like? It has a subtly sweet, floral flavor with a hint of honey.
- Can I use frozen dandelion petals? Fresh petals are best, but you can use frozen petals if you don’t have access to fresh ones. Just make sure to thaw them completely before using.
- My jelly didn’t set. What did I do wrong? This could be due to not using enough pectin, not cooking the jelly long enough, or using dandelions with a high moisture content.
- Can I make this recipe without pectin? It’s possible, but it will be more difficult to achieve the right consistency. You may need to cook the jelly for a longer time.
Serving Suggestions: How to Enjoy Your Dandelion Jelly
Now for the best part: enjoying your homemade dandelion jelly! Here are a few of my favorite ways to savor this springtime treat:
- On Toast or Biscuits: The classic way to enjoy jelly! Spread it on warm toast, biscuits, or scones for a delightful breakfast or snack.
- With Cheese: Pair it with creamy cheeses like brie or goat cheese for a sweet and savory appetizer.
- On Yogurt or Oatmeal: Swirl it into yogurt or oatmeal for a burst of flavor and sweetness.
- As a Glaze: Use it as a glaze for roasted meats or vegetables.
- In Desserts: Use it as a filling for pastries, cakes, or tarts.
This dandelion jelly recipe is not just about making a sweet spread; it’s about embracing the beauty of nature, connecting with your surroundings, and creating something truly special. So go ahead, give it a try! I m sure you ll love it. After all, this dandelion jelly recipe is a taste of sunshine in a jar!
Explore More Dandelion Delights!
Loved making Dandelion Jelly? Why stop there? Dandelions are incredibly versatile, and there’s a whole world of delicious recipes waiting to be discovered. Check out these other amazing dandelion creations:
- Dandelion Flower Jelly: Dive deeper into the world of dandelion jelly with our comprehensive guide!
- Dandelion Syrup: Sweeten your drinks and desserts with this golden, floral syrup.
- Dandelion Flower Tea: Enjoy a soothing and healthy cup of dandelion tea, perfect for a relaxing afternoon.
Don t forget to share your creations with me on social media! I can’t wait to see your golden jars of sunshine. Happy foraging and happy cooking!

Dandelion Jelly
Ingredients
Method
- Simmer dandelion petals in water, strain, and repeat.
- Combine dandelion water, lemon juice, pectin, and food coloring; boil. Add sugar and boil for 1 minute.
- Pour into sterilized jars, remove air bubbles, wipe rims, and seal.
- Process jars in boiling water for 7 minutes.
- Cool jars for 24 hours.
Notes