Elevate Your Thanksgiving Feast with this Show-Stopping Stuffing Recipe!
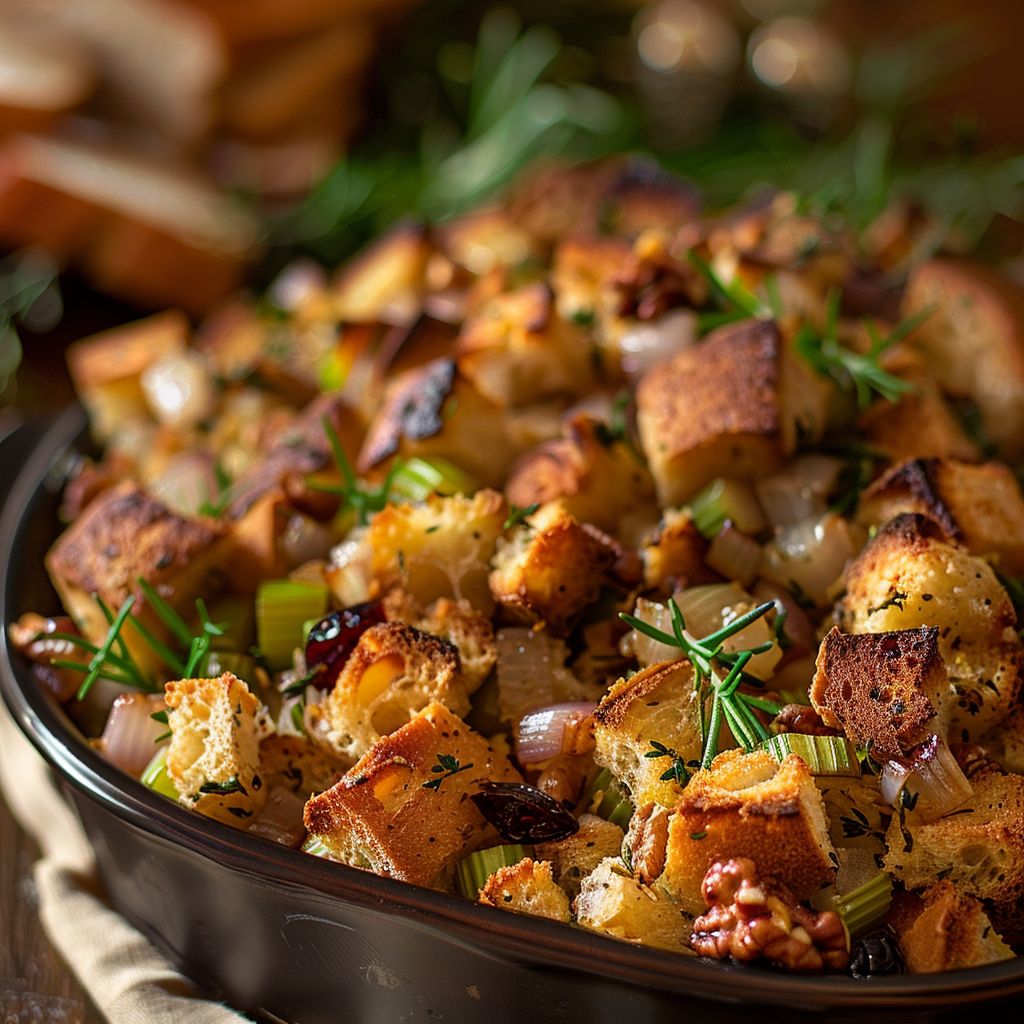
Get ready to impress your guests this holiday season with a stuffing recipe that’s not just rich and savory, but also packed with fresh herbs and delightful flavors! This stuffing will take center stage on your Thanksgiving table, and I promise it’s a dish everyone will rave about. Let’s dive into the deliciousness and make this year’s Thanksgiving unforgettable!
Why You’ll Love This Recipe
This recipe is all about creating a memorable experience around the dinner table. Here’s why it’s a must-try:
- Flavor Explosion: The combination of fresh herbs and sautéed vegetables brings unparalleled flavor to the stuffing.
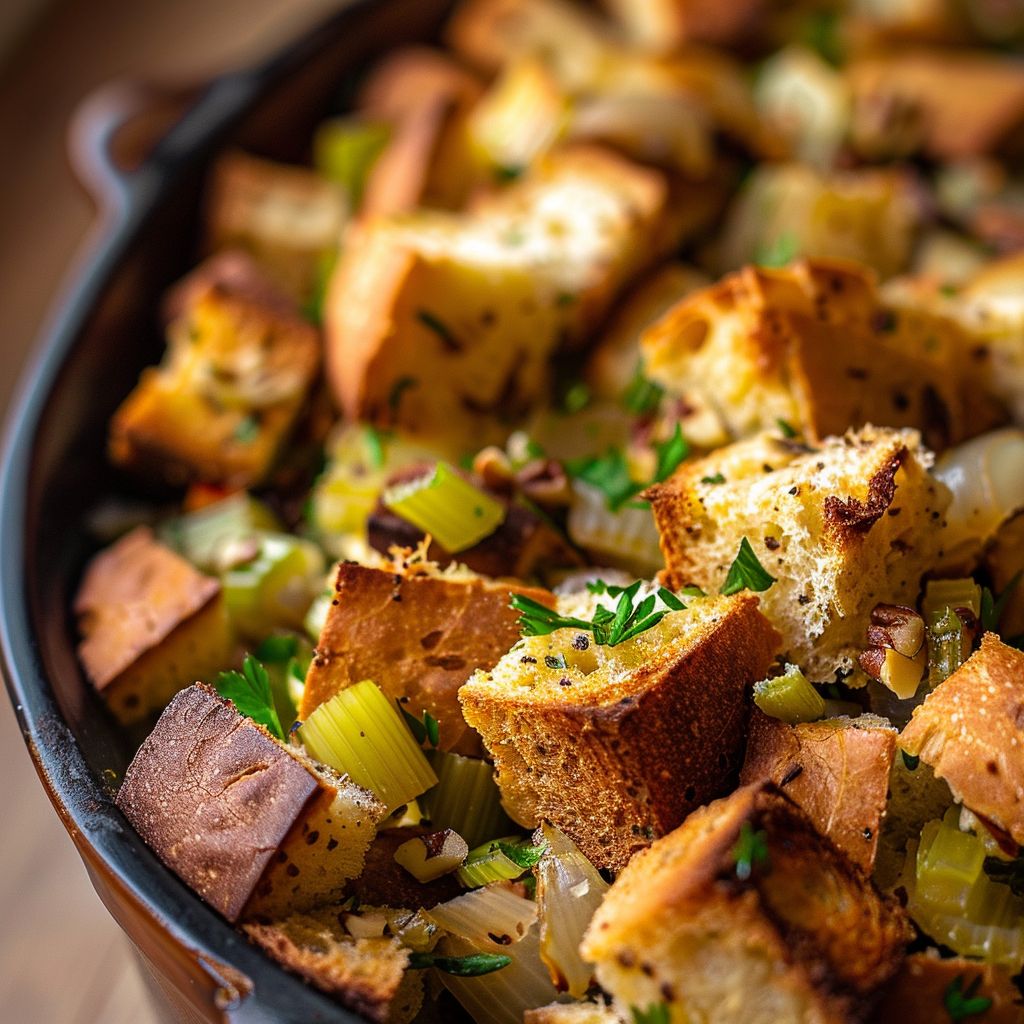
- Textural Delight: With the perfect balance of crispy edges and soft, fluffy insides, this stuffing will be the talk of the table.
- Make Ahead Friendly: Prepare it a day in advance and save time on Thanksgiving Day!
- Customizable Options: Add your favorite ingredients for a personal twist, making it uniquely yours!
- Perfect for Leftovers: This stuffing tastes even better the next day, making it perfect for those post-holiday sandwiches!
Ingredient Breakdown
Let’s gather the ingredients that make this stuffing shine! Here’s what you’ll need:
- 1 loaf of crusty bread, cubed: Choose a hearty bread like sourdough or French for the best texture.
- 1 cup unsalted butter: This adds richness and helps in sautéing the vegetables.
- 1 large onion, diced: Adds sweetness and depth to the flavor.
- 3 celery stalks, diced: Provides a nice crunch and fresh taste.
- 4 cloves garlic, minced: For that aromatic, savory flavor.
- Fresh herbs (sage, thyme, rosemary): Essential for a fragrant and flavorful stuffing.
- 1 teaspoon salt & 1/2 teaspoon black pepper: For seasoning.
- 2 cups vegetable or chicken broth: Keeps the stuffing moist and adds flavor.
- 2 large eggs, beaten: Helps bind the ingredients together.
- Optional: 1 cup dried cranberries & 1 cup chopped walnuts or pecans: For a hint of sweetness and crunch!
If you’re short on time or ingredients, here are some substitutions:
- Bread: Any day-old bread works well. Try whole wheat or gluten-free options!
- Butter: Olive oil can be used for a lighter version.
- Herbs: Dried herbs can be used in a pinch — just reduce the quantity by half.
- Cranberries: Raisins or chopped apples can be a delightful substitute!
Step-by-Step Instructions
Let’s get cooking! Follow these easy steps to make your stuffing:
- Preheat your oven to 350°F (175°C).
- Spread the cubed bread on a baking sheet and toast in the oven until golden brown, about 10-15 minutes.
- In a large skillet, melt the butter over medium heat. Add the diced onion and celery, sautéing until softened, about 5-7 minutes.
- Stir in the minced garlic, sage, thyme, rosemary, salt, and black pepper; cook for another 2 minutes.
- In a large mixing bowl, combine the toasted bread cubes, sautéed vegetable mixture, broth, and beaten eggs. Mix well.
- If using, fold in the dried cranberries and chopped nuts.
- Transfer the stuffing to a greased baking dish and spread it out evenly.
- Cover with foil and bake for 30 minutes. Remove the foil and bake for an additional 15-20 minutes, or until the top is crisp and golden.
- Let cool slightly before serving. Enjoy your show-stopping Thanksgiving stuffing!
Pro Tips for the Best Stuffing
Want to take your stuffing to the next level? Check out these expert insights:
- Mix your breads: Combine different types of bread for varied texture and flavor.
- Use day-old bread: It absorbs the broth better, yielding a stuffing that’s moist and flavorful.
- Customize your herbs: Experiment with herbs like parsley or oregano for a unique flavor profile.
- Don’t skip the toasting: Toasting the bread enhances its flavor and prevents sogginess.
- Make it ahead: Assemble the stuffing a day before, refrigerate, and bake on the big day.
- Check for moisture: If it seems dry before baking, add a bit more broth.
- Rest before serving: Let the stuffing sit for a few minutes after baking for better texture.
- Serve with gravy: Drizzle some homemade gravy on top for an extra flavor boost.
Common Mistakes and Troubleshooting
Don’t worry if things don’t go perfectly! Here are some common pitfalls and how to avoid them:
- Soggy stuffing: Ensure your bread is well-toasted and not overly saturated with broth.
- Bland flavor: Taste as you go; adjust seasoning with salt and pepper.
- Overcooked stuffing: Keep an eye on it in the oven to prevent burning; remove the foil to crisp it up towards the end.
- Too dry: If it seems dry, drizzle in a bit more broth before serving.
Delicious Variations to Try
Mix it up with these tasty variations:
- Spicy Sausage Stuffing: Add cooked sausage for a hearty kick.
- Apple & Walnut Stuffing: Incorporate diced apples and walnuts for a sweet crunch.
- Mushroom & Herb Stuffing: Add sautéed mushrooms for an earthy flavor.
- Vegetarian Stuffing: Use vegetable broth and skip the eggs for a plant-based version.
Make-Ahead & Storage Tips
This stuffing is perfect for preparing in advance!
- Make-Ahead: Assemble up to 24 hours in advance and refrigerate until ready to bake.
- Storage: Store leftovers in an airtight container in the fridge for up to 3 days.
- Freezing: Freeze baked stuffing for up to 2 months. Thaw overnight before reheating.
Frequently Asked Questions
Got questions? I’ve got answers! Here are some FAQs about this stuffing recipe:
- Can I use store-bought bread? Absolutely! Just make sure it’s a hearty loaf.
- How do I keep it from getting too dry? Add enough broth and cover with foil while baking until the last few minutes.
- Can I add other ingredients? Yes! Feel free to customize with your favorite add-ins like nuts or cheeses.
- What’s the best way to reheat stuffing? Bake in a covered dish at 350°F until heated through, adding broth if needed.
- Can I make this stuffing gluten-free? Yes! Use gluten-free bread and check your broth for gluten-free options.
- How long do I bake it? Bake for about 45-50 minutes total, adjusting for crispiness to your liking.
- Is this recipe good for other occasions? Absolutely! It’s perfect for any holiday or family gathering.
- What should I serve with this stuffing? It pairs wonderfully with turkey, chicken, or as a stand-alone side!
Nutritional Tips and Dietary Adaptations
Looking to adapt this recipe for your dietary needs? Here’s how:
- Low-carb: Substitute bread with cauliflower rice or keto-friendly bread.
- Vegetarian/Vegan: Use vegetable broth and replace eggs with flaxseed meal or silken tofu.
- Heart-healthy: Use less butter and incorporate more vegetables like peppers and spinach.
Essential Equipment
Gather these tools for a smooth cooking experience:
- Large mixing bowl: For combining ingredients.
- Skillet: For sautéing vegetables.
- Baking dish: A 9×13 inch dish works perfectly.
- Measuring cups and spoons: For precise ingredient measurements.
- Cutting board and knife: For chopping your veggies and herbs.
Serving Suggestions
Make your Thanksgiving spread even more delightful with these serving ideas:
- Pair with Gravy: Drizzle warm gravy over the stuffing for extra flavor.
- Serve with Fresh Herbs: Garnish with freshly chopped parsley or sage for a pop of color.
- Accompany with Cranberry Sauce: The tartness of cranberries balances the savory flavors beautifully.
- Offer a Side Salad: A refreshing salad complements the richness of the stuffing.
Now that you have the ultimate guide to creating a Thanksgiving stuffing that will steal the spotlight, it’s time to gather your ingredients and get cooking! Remember, cooking is all about sharing, so snap a few photos of your masterpiece and share the love online! Happy cooking, friends!

Homemade Thanksgiving Stuffing That Steals the Show
Ingredients
Method
- Preheat oven to 350°F (175°C). Toast bread until golden, about 10-15 minutes.
- Sauté onion and celery in butter until softened, 5-7 minutes. Add garlic and herbs, cook 2 minutes.
- Mix toasted bread, sautéed vegetables, broth, and eggs in a large bowl. Fold in cranberries and nuts if using.
- Transfer to a greased dish, cover with foil, bake 30 minutes. Remove foil, bake 15-20 more minutes until crisp.
- Let cool slightly before serving. Enjoy!
Notes
Loved this recipe? Save it to your favorite Pinterest board so you can easily find it later! ✨